
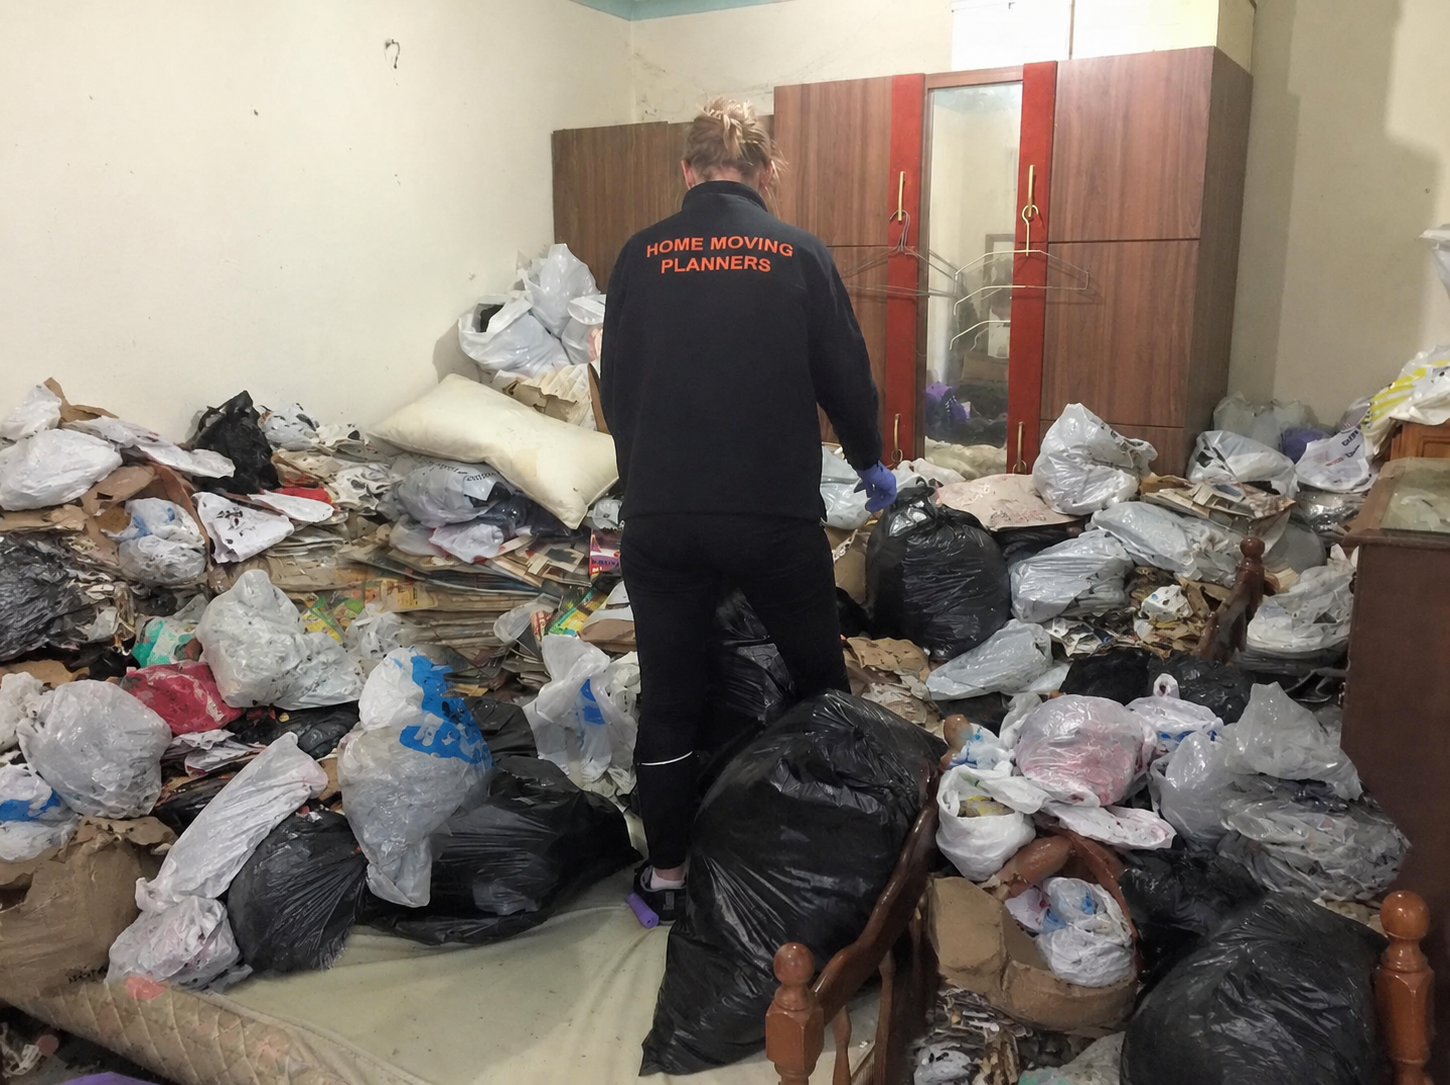
Clearing a home that has been affected by years of clutter or neglect can be a physically demanding and emotionally overwhelming task. Whether the property belongs to an ageing parent, a deceased estate, or a home that has simply become difficult to maintain over time, it is important to approach the process safely and methodically.
Homes that have been left untouched for years may contain hidden hazards such as mould, pests, unstable flooring, sharp objects or accumulated waste. Rushing in without a plan can increase the risk of injury and make the task feel far more overwhelming than it needs to be.
Below we outline practical steps to help you clear a home safely while protecting yourself, staying organised, and knowing when it is time to seek professional assistance.
Step 1. Assess the Property Before You Begin
Before moving furniture or lifting boxes, take time to walk through the property and assess its overall condition.
Look for potential hazards such as:
- Water damage or signs of mould
- Pest activity including rodents or insects
- Loose flooring or trip hazards
- Unstable piles of belongings
- Broken glass or sharp objects
- Poor ventilation or unpleasant odours
If the home has significant structural damage, severe mould, biohazards or large pest infestations, it is safest to arrange specialist assistance before beginning the clearance.
Opening windows and doors where possible will also improve ventilation before work begins.
Step 2. Wear the Right Protective Equipment
Safety should always come first when clearing a neglected property.
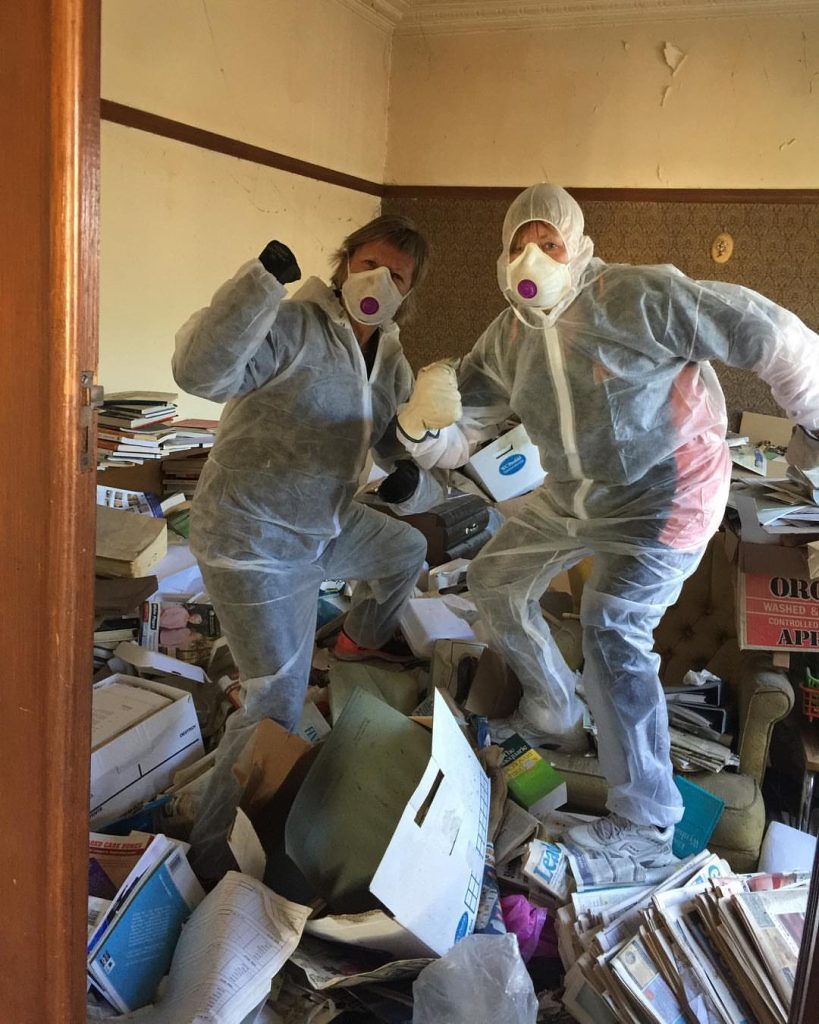
Depending on the condition of the home, appropriate protective equipment may include:
- Sturdy enclosed footwear
- Heavy-duty gloves
- Safety glasses
- Long sleeves and long pants
- A P2 or N95 mask if dust, mould or poor air quality is present
Using the correct protective equipment helps reduce exposure to dust, mould spores and other contaminants that may have built up over many years.
Step 3. Create a Plan Before Moving Anything
It can be tempting to start filling rubbish bags immediately, but taking a few minutes to plan the job will save significant time later.
Work through the home one room at a time rather than trying to tackle everything at once. Set realistic daily goals and decide which rooms should be cleared first.
If several family members are helping, allocate different responsibilities so everyone knows what they are working on. Having a clear plan prevents duplication, keeps the process organised and reduces feelings of overwhelm.
Step 4. Sort Belongings Into Clear Categories
Once you begin clearing each room, create designated areas for belongings rather than making decisions randomly.
We recommend sorting items into five categories:
- Keep
- Sell
- Donate
- Store
- Dispose
If you believe furniture, antiques, artwork or collectibles may have value, identify these items first. Anything that cannot be sold can then move into the donation category, avoiding unnecessary double handling and making the process much more efficient.
Working room by room also helps maintain momentum and makes it easier to see progress throughout the day.
If the volume of items feels unmanageable, a hoarder clearance & decluttering service can take care of sorting, removal and disposal on your behalf.
Step 5. Stay Organised Throughout the Process
Small organisational systems can make a significant difference when clearing a heavily cluttered property.
Helpful tips include:
- Label boxes clearly for each category
- Use colour-coded stickers when multiple people are involved
- Keep walkways free from clutter to reduce trip hazards
- Photograph rooms before and after to track progress
- Schedule regular breaks to avoid physical exhaustion
- Lift heavy items safely or ask for assistance
- Keep important documents and valuables in a separate secure location
Remaining organised not only improves efficiency but also reduces the risk of accidentally disposing of important belongings.
Step 6. Dispose of Waste Safely
Not everything found in a neglected home can simply be placed into household rubbish bins.
Paints, chemicals, batteries, electronics, medications and other hazardous materials should be disposed of according to your local council guidelines.
If the property contains large volumes of waste, damaged furniture or bulky household items, arranging professional removal is often the safest and most efficient solution. This removes the need for multiple trailer loads, skip bins or repeated trips to waste facilities.
Step 7. Deep Clean Once the Clutter Has Been Removed
Once the contents of the home have been cleared, the property can be cleaned properly.
Start by removing loose dust and cobwebs before cleaning surfaces from top to bottom. Kitchens, bathrooms and high-touch surfaces should be disinfected thoroughly.
If extensive mould, strong odours or contamination remain after the clearance, additional specialist cleaning may be required before the property is ready for sale, rental or occupation.
When to Bring in Professional Help Clearing a Cluttered Home
Some homes are simply too unsafe or too overwhelming to clear without assistance.
Professional help is worth considering when:
- The home has been neglected for many years
- There are large amounts of accumulated belongings
- The property contains mould or pest infestations
- Heavy furniture needs to be removed
- You are managing the process from interstate
- You have limited time due to work or family commitments
Professional house clearance services have the equipment, experience and manpower to complete the work safely and efficiently, often saving families considerable time, physical effort and stress.
Our house clearance service can handle this coordination so that you can focus on the next stage of the move.